The Real Cost of Photography: A Starter-to-Pro Gear Roadmap
The Real Cost of Photography: A Starter-to-Pro Gear Roadmap
Photography is one of those hobbies that can feel “cheap” at first… and then quietly turn into a drawer full of gear you don’t use. The easier (and cheaper) path is to build a setup in stages: start with the basics, shoot enough to learn what you like, then upgrade only when you hit a real limitation.
Below is a realistic photography cost breakdown by level (Starter → Regular → Pro) and by spending type (one-time vs monthly). No fantasy “ultimate kit”—just what people actually end up buying.
Why photography is worth it
Photography changes how you move through the day. You notice light, angles, small details, and moments you would normally miss.
A few benefits most people feel pretty quickly:
- You become more present (less autopilot, less scrolling)
- You keep better memories (and actually look back at them)
- It turns normal places into something interesting
- It’s a skill that can pay back (product photos, events, content work)
And honestly: it’s just satisfying to make a photo you’re proud of.
The real cost of photography (the short version)
Starter costs are mostly one-time (camera + SD card). Regular costs add “quality of life” upgrades and editing. Pro costs are about control (lighting) and stability (video).**
Starter setup
Starter is enough to learn the basics: composition, exposure, focus, and how to get consistently sharp images.
One-time purchases (Starter)
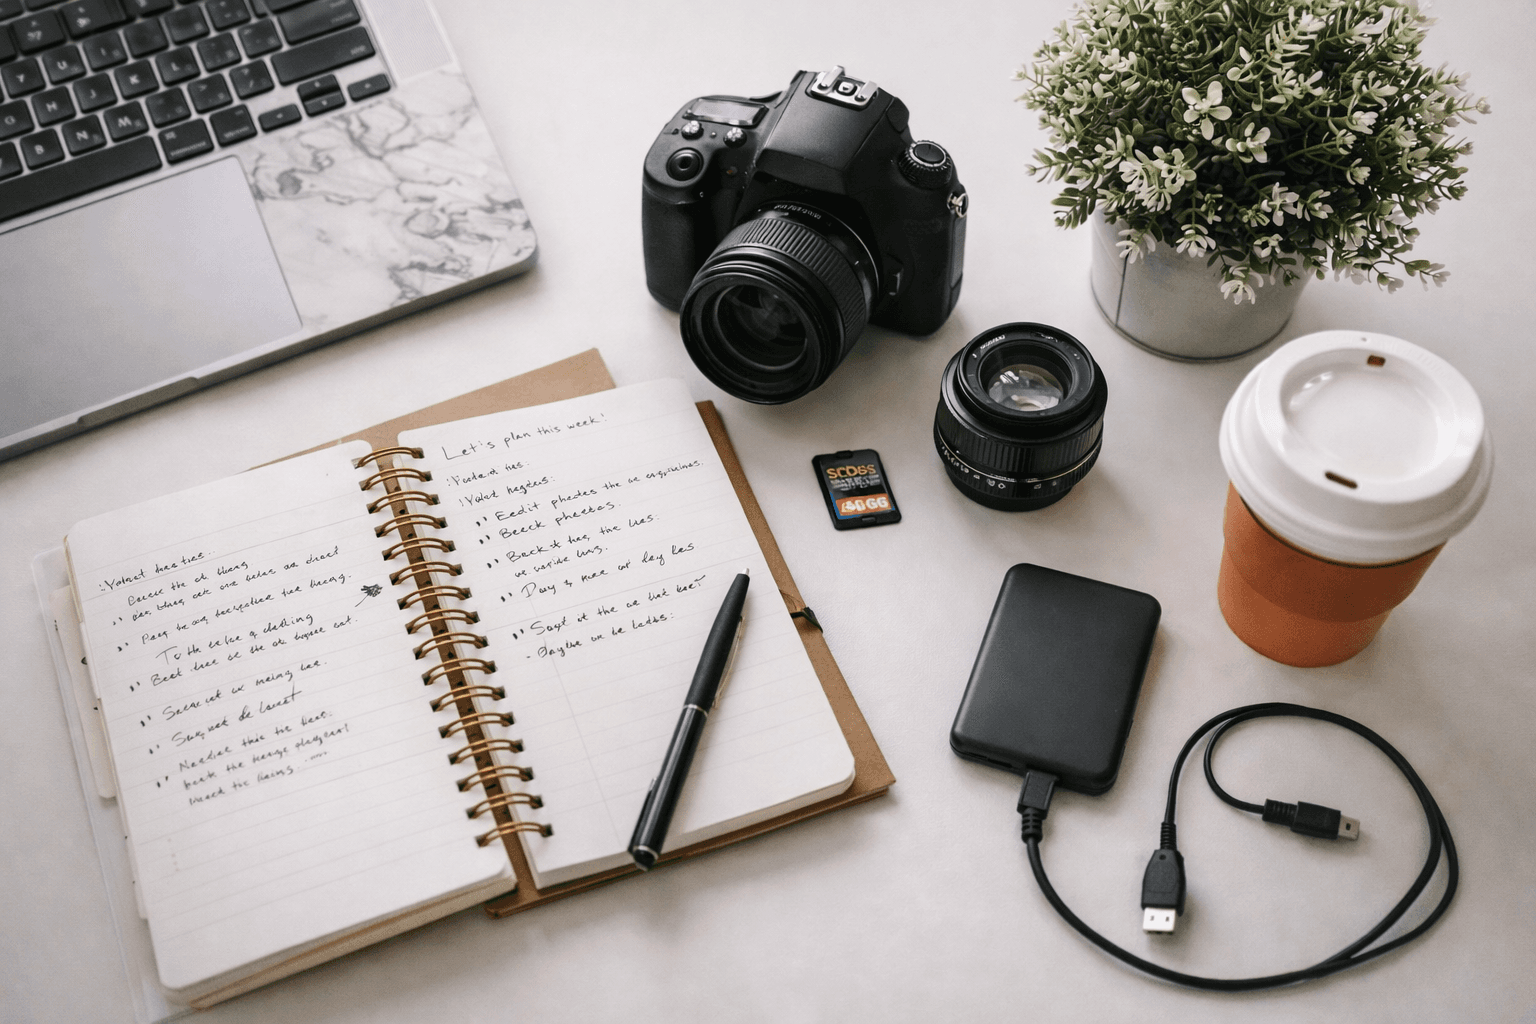
- Camera
Doesn’t have to be fancy. You’re buying it to learn how to shoot, not to impress anyone. - Memory card (SD)
Get a reliable one. Cheap cards can cause frustrating file issues.
That’s it. Starter is intentionally simple.
Regular setup
Regular is where things start feeling smoother and more “serious”—not because you’re spending for the sake of it, but because you’re removing friction and gaining control.
One-time purchases (Regular)
- Camera strap
More important than it sounds—comfort decides whether you actually carry your camera. - Camera bag
Protects your gear and makes it easier to take with you. - Lens cleaning kit
Dust and smudges are the fastest way to ruin a great shot. - Tripod
A tripod fixes shaky low-light photos instantly, and it’s also huge for self-portraits and night shots. - External hard drive
You will run out of space. Backups matter way earlier than people think. - Prime lens (50mm / 35mm)
This is one of the best “upgrade per dollar” moves. Prime lenses are great for low light, sharpness, and that clean background blur. - Camera remote shutter
Small item, big quality-of-life win for tripod shots. - Online photography course
Gear doesn’t teach you. A solid course often improves your photos faster than another purchase.
Monthly costs (Regular)
- Photo editing software subscription
Optional, but common. Editing is where you get consistency: color, contrast, and that “finished” look.
Pro setup (control + lighting + video)
Pro-level gear is less about “better photos” and more about control. If you shoot portraits, product photos, indoor scenes, or video, you’ll feel the difference.
One-time purchases (Pro)
- External flash
Flash gives you power over bad lighting—especially indoors. - Backdrop / lighting kit
Useful for portraits, content creation, and product photography. This is where photos start looking “studio-clean.” - Gimbal / stabilizer (for video)
If you film video, a gimbal makes handheld footage look dramatically smoother.
Where beginners usually overspend
A few common money traps:
- Buying extra gear before you’ve shot enough to know what you like
- Buying multiple “okay” items instead of one actually useful upgrade (often the prime lens or tripod)
- Forgetting storage/backups (then losing photos… which hurts)
A safer approach:
- Shoot with Starter gear for a bit
- If you love portraits or low light → upgrade to a prime lens
- If you love landscapes/night shots → get a tripod
- If you’re shooting indoors/products → invest in flash/lighting
Spend based on what you actually do, not what looks cool online.
The hidden ongoing cost: storage
Photography isn’t just shooting—it’s saving. The more you shoot, the more you need:
- SD cards you trust
- a backup routine
- an external drive (and eventually a second one)
This is the boring part of photography… and the part that saves you from heartbreak.
Try the Photography Cost Calculator
If you want a personalized estimate in your own currency and shopping style, set up Photography in Hobby Cost Calculator with:
- Starter / Regular / Pro
- One-time vs Monthly
- Toggle Add my prices to match the exact items you’ll buy
That way your “photography budget” becomes a real plan, not guesswork.
FAQ
How much does photography cost to start?
Starter can be very reasonable: camera + SD card. The budget grows when you add lenses, a tripod, and editing.
What’s the best upgrade after the basics?
Usually either a prime lens (50mm/35mm) or a tripod, depending on what you shoot.
Do I need paid editing software?
Not on day one. But if you want consistent results and a cleaner look, a subscription can be worth it later.
When do I need flash/lighting?
When you shoot indoors, portraits, products, or you want control no matter the room light.
Related posts